 how-to
How Do You Maintain a Leather Water Bottle?
Quick Summary
To maintain a leather water bottle, rinse the metal interior with warm water and a bottle brush, then wipe the leather sleeve with a barely damp cloth and dry it right away. Condition the leather regularly with one thin coat so it stays flexible and does not crack.
- Clean the metal interior like any metal bottle, using warm water and a bottle brush.
- Wipe the leather with a barely damp, lint-free cloth, working in one direction.
- Air-dry the leather upright, away from radiators, direct sun, and hair dryers.
- Never soak the leather or rinse the whole bottle under running water.
- Apply one thin conditioning coat, then buff off excess, and patch-test new products first.
Table of Contents
- Know What You Are Caring For: Leather-Covered Bottles vs. Leather Canteens
- How to Clean a Leather Water Bottle Step by Step
- How to Protect Leather From Water and Condition It
- Booking Your Next Maintenance Routine With KYLA Care Essentials
- Frequently Asked Questions
Know What You Are Caring For: Leather-Covered Bottles vs. Leather Canteens
Last Updated: November 12, 2026
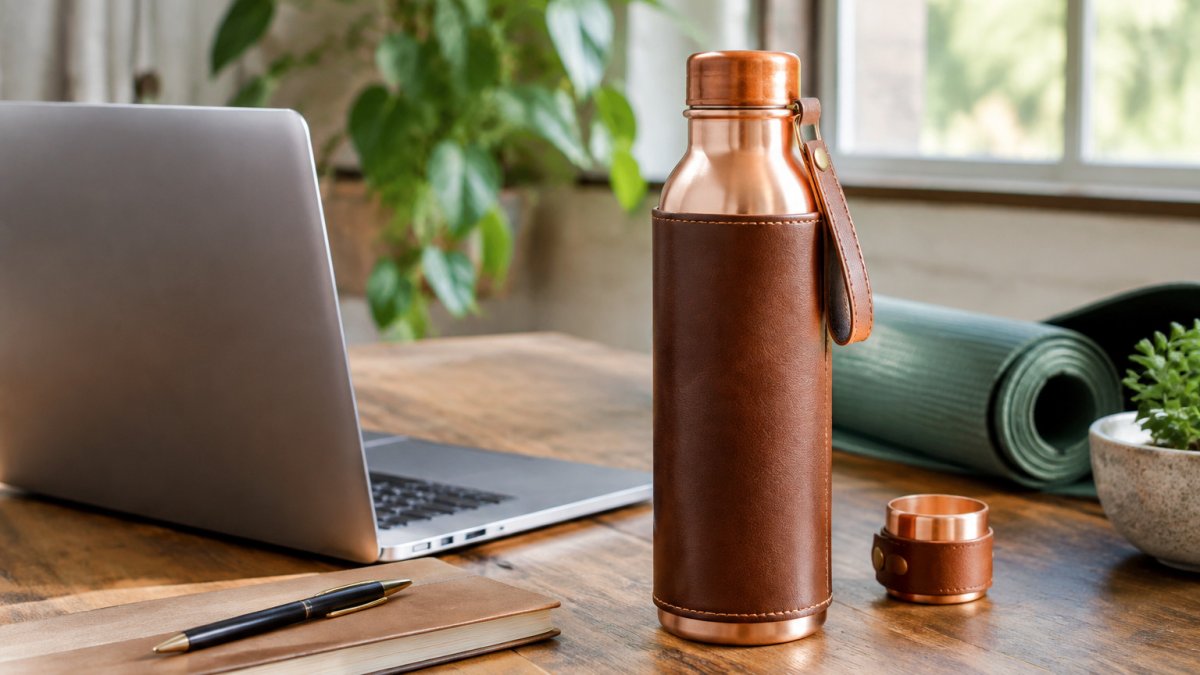
Before you clean or condition anything, know what you own. A leather water bottle is usually a metal vessel with a leather sleeve wrapped around the outside; a leather canteen has leather as part of the container, often with a sealed liner inside.
This matters for three reasons:
- The inside is metal, not leather. Water touches copper, not the sleeve, so clean the inside like any metal bottle.
- The outside is leather. Water, sweat, and dirt hit the sleeve, so it needs gentle cleaning and conditioning.
- Leather can crack if it dries out. Heat and sun pull oil from the hide over time.
Check the label or product page before you start. If the sleeve is removable, take it off before cleaning.
How to Clean a Leather Water Bottle Step by Step
Cleaning is quick, and the order matters: work from the inside out, then finish with the leather. Confirm your bottle's construction first, if water contacts a metal or glass liner, clean that interior like any metal bottle; if the leather itself is the container, never fill it with water or cleaning solution unless the manufacturer says the interior is sealed and food-safe.
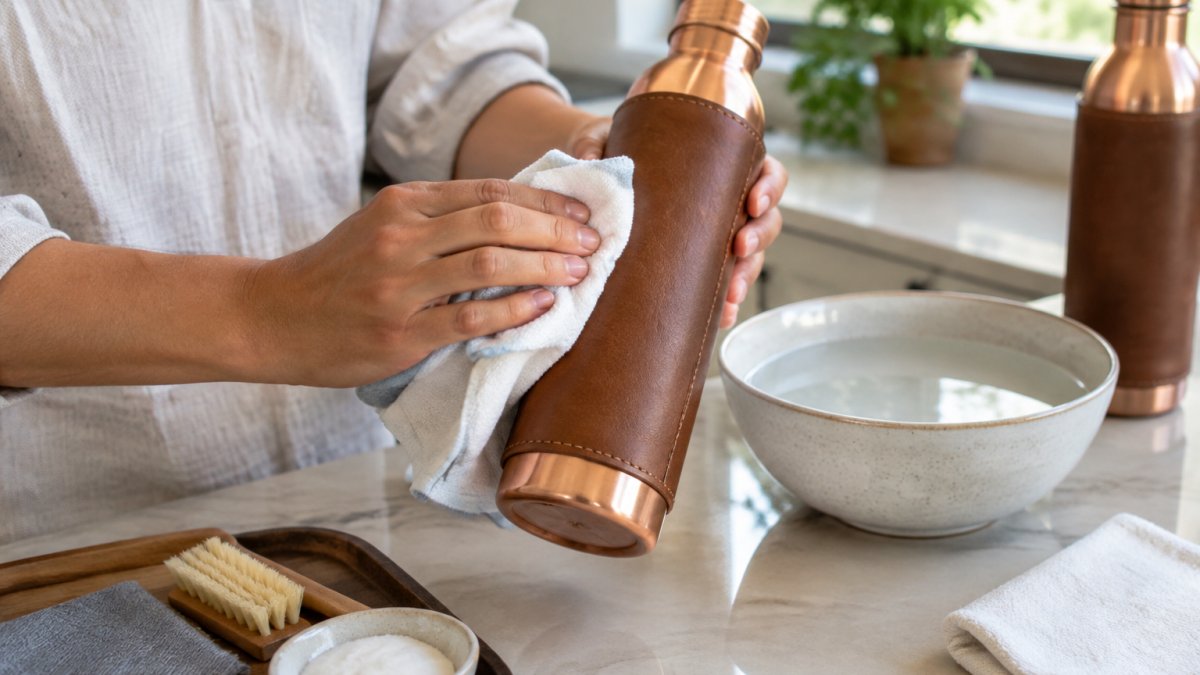
- Empty and rinse the interior. Pour out remaining water and rinse with warm (not hot) water and a bottle brush. A drop of mild dish soap is fine on metal; on a sealed liner, use only what the manufacturer approves.
- Remove the sleeve if detachable. This lets you clean the metal fully and keep water off the hide.
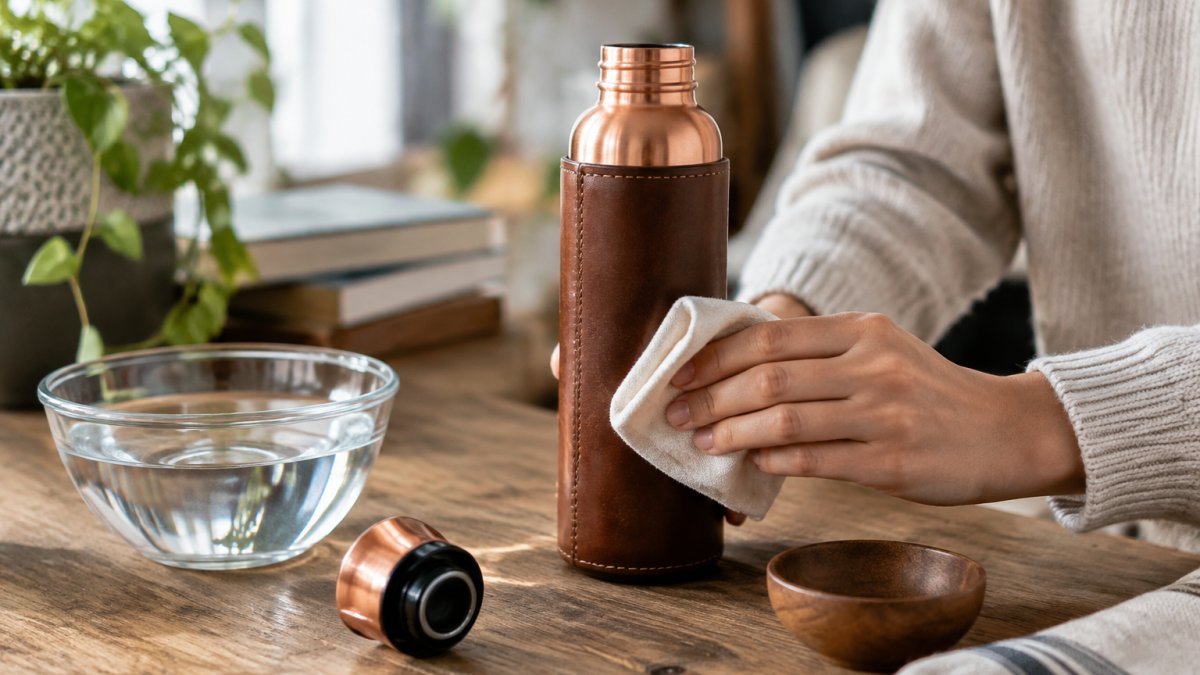
- Wipe the leather with a barely damp cloth. Use a soft, lint-free cloth wrung out until almost dry. Wipe in one direction with light pressure; do not scrub or let water pool.
- Lift surface dirt with mild soap only if needed. One drop of mild dish soap on the damp cloth handles fingerprints, sweat, and dust. Avoid saddle soap unless the manufacturer recommends it, since residue can transfer to hands and the drinking area.
- Wipe off soap residue immediately with a clean, damp (not wet) cloth. Leftover soap dulls the finish and attracts dirt.
- Dry the leather right away. Pat dry with a towel, then air-dry upright with good airflow, away from radiators, direct sun, and hair dryers. Wet leather swells, stiffens, and can grow mildew within a day or two.
- Dry the interior with the cap off, upside down on a rack or clean towel so air circulates. Never cap a damp bottle.
Watch out: never soak the leather or rinse the whole bottle under a running tap. Saturated hide takes far longer to dry than the surface suggests and is the leading cause of stiffness, odor, and cracked leather.
For odors inside a metal bottle, rinse with a diluted white vinegar solution (one part white vinegar to three parts water), then rinse thoroughly with warm water. Do not use vinegar on the leather or leave it sitting in the bottle. On leather, stick to water and mild soap; harsh chemicals, bleach, alcohol, and abrasives strip oils and dye.
Treat leather stains as soon as you notice them. Blot (do not rub) with a damp cloth, let dry, then decide whether a leather cleaner is appropriate, rubbing spreads the stain into the grain.
The cleaning steps follow a clear order, from the metal interior to the leather exterior, with each step's timing spelled out below.
| Step | What to do | Time or frequency |
|---|---|---|
| Rinse interior | Rinse with warm, not hot, water and a bottle brush | Each cleaning |
| Remove sleeve | Take off the sleeve if it is detachable | Before cleaning |
| Wipe leather | Use a barely damp, lint-free cloth in one direction | Each cleaning |
| Lift dirt | One drop of mild dish soap on a damp cloth, only if needed | As needed |
| Remove residue | Wipe off soap with a clean, damp cloth | Immediately after soap |
| Dry leather | Pat dry, then air-dry upright away from heat | Right away |
| Dry interior | Dry with the cap off, upside down | Until fully dry |
How to Protect Leather From Water and Condition It
Leather needs two things: a water barrier and regular conditioning to stay flexible. Application depends on the leather type and whether the product could contact your drinking water.
Conditioning. Condition regularly, more often in a hot car, dry climate, or direct sun. Use a conditioner made for finished leather goods such as bags or boots. Apply a thin, even coat with a soft cloth, work it into the grain, then buff off excess with a clean dry cloth. One thin coat is enough; too much leaves the leather greasy, darkens it unevenly, and attracts dirt.
Waterproofing. Warm a small amount between your fingers or with the applicator, apply one thin coat in a circular motion, let it set, then buff. Reapply only when water stops beading. Avoid silicone-heavy or petroleum-based sealants unless the manufacturer recommends them, as they can clog the grain and hinder future conditioning.
Test first, every time. Apply any new product to a hidden spot, such as the inside of the sleeve or the base, and wait 24 hours. Check for color change, darkening, tackiness, or white residue, a patch test is the only reliable way to know how a product will behave on your leather.
Food-contact safety. If your bottle has a leather sleeve over a metal vessel, keep conditioners and waxes on the outside only and never let them reach the rim, cap threads, or interior. If the leather is the container itself, do not apply conditioners or waxes to any surface that touches drinking water unless the product is explicitly labeled food-safe and the manufacturer approves it. When in doubt, treat the leather as exterior-only and clean drinking surfaces with warm water and mild soap.
Match the product to the leather. Finished, smooth leather takes a cream or wax conditioner well. Oiled or pull-up leather darkens easily, so test first and use less. For suede or nubuck, use a suede brush and dedicated protector rather than a cream. Avoid heavy solvents and never use household oils such as olive oil or coconut oil, which turn rancid and leave a sticky film.
Watch out: over-conditioning is as damaging as under-conditioning. If the leather feels tacky or leaves a mark on your hand, you have used too much; buff off the excess and wait a few days before the next application.
Booking Your Next Maintenance Routine With KYLA Care Essentials
A simple routine helps keep your bottle in good condition: clean the sleeve regularly if used daily, and store it dry. If the leather cracks, fades, or the bottle leaks, stop using it and check the care instructions before attempting a repair.
For care products made for KYLA bottles, browse the KYLA product range. For official cleaning details for this bottle, see KYLA's cleaning and care instructions.
Keep your copper bottle clean and your leather in good shape, and it will look better with age. Get started with KYLA to see the full range of handcrafted copper bottles.
Frequently Asked Questions
What can you put on leather to preserve it?
A quality leather conditioner made for finished leather goods is a common option for keeping leather supple. Apply a thin, even layer to the exterior of the leather wrap, then buff off any excess with a clean, soft cloth. Avoid heavy oils, which can soften the leather too much and leave residue. Test any product on a small hidden area first, and check the product label to confirm it is safe for leather bottles and suitable for use near drinking water.
Can you use beeswax to waterproof a leather water bottle?
Keep wax off the interior vessel and the lid threads, since those areas need to stay clean and free of residue.
How often should you condition a leather water bottle?
Condition the exterior when the leather looks dry, feels stiff, or has been exposed to frequent rain or sweat. Clean the surface before conditioning so dirt is not sealed into the leather, and always let the bottle dry fully before you use it again.